This document describes how to install Kronometrix IoT Gateway (K1 Basic, Standard or Premium editions) for Raspberry PI computers ARM64. K1 is the product technical code name for Kronometrix IoT Gateway.
What you need before installation
First of all it is recommended to have a RaspberryPI 3B or 3B+ single-board computers, and one MicroSD card. Note: We are working to add support for the latest Raspberry PI 4B.
You need to purchase Kronometrix IoT Gateway image for ARM64 Raspberry PI single-board computers. Please visit our product and check and select your configuration. After you have purchased your image, you should receive a link to download the software image, and the software license agreement, including your support level.
- Raspberry PI 3B / 3B+ (RBPI3)
- 64GB MicroSD card (SanDisk High Endurance, Transcend HighEndurance)
- Kronometrix IoT Gateway software image for ARM64 RBPI3
You need to have Internet connectivity in order to access Kronometrix IoT Gateway software image. You can use anyway any other MicroSD cards, preferable to have 64GB.
Prepare the software image
Please make sure you have a MicroSD card to write your Kronometrix IoT Gateway software image. By default, a default 64GB MicroSD is recommended for industrial installations, where you plan to capture data from more than 1 or 2 sensors and keep original raw data for more than 12 months.
Uncompress the image
-
Download latest, stable Kronometrix IoT Gateway arm64 package
-
Uncompress the package
# gunzip k1-rel148-64gb-arm64.img.gz
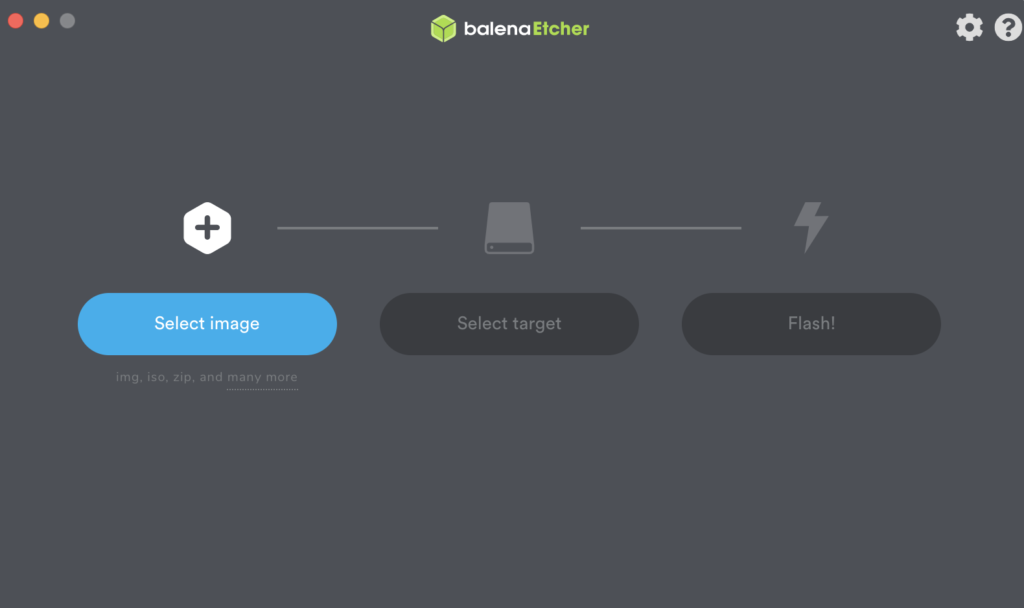
Write the image
-
Write the software image to a new MicroSD card
-
For example, you can use balenaEtcher software:
Boot the system
Plug-in the MicroSD card to your Raspberry PI computer and connect the power cable. Wait several seconds (20-30sec) that the computer will boot.
Login
Please check the README.K1 to verify the system prerequisites, how to login and start using Kronometrix IoT Gateway. You can use the default user account ‘krmx’ and login using SSH2 protocol or directly using a attached console. Make sure to remember to use the default SSH2 port, 44429.